Description
Hidden Fastening System: Secure and Seamless Decking Solutions
Application
The hidden fastening system ensures a secure, face-fastened connection with precision-cut plugs made from actual decking and cladding materials. The installation is a straightforward two-step process using a setting tool, screws, and plugs. All components must be used together as instructed to guarantee proper function.
Features
- Versatile Plugs: Suitable for 25.4 mm (1″) nominal (or greater) material and compatible with all leading deck and cladding brands.
- Comprehensive Kits: Available in kits (screws, plugs, and tool) or as separate components for inventory management.
- Patented PVC/Composite Tool: Features Auto-Stop™ to set screws to the correct depth without stripping the screw recess.
- Free-Spinning Stop Collar: Prevents damage to the board surface during installation.
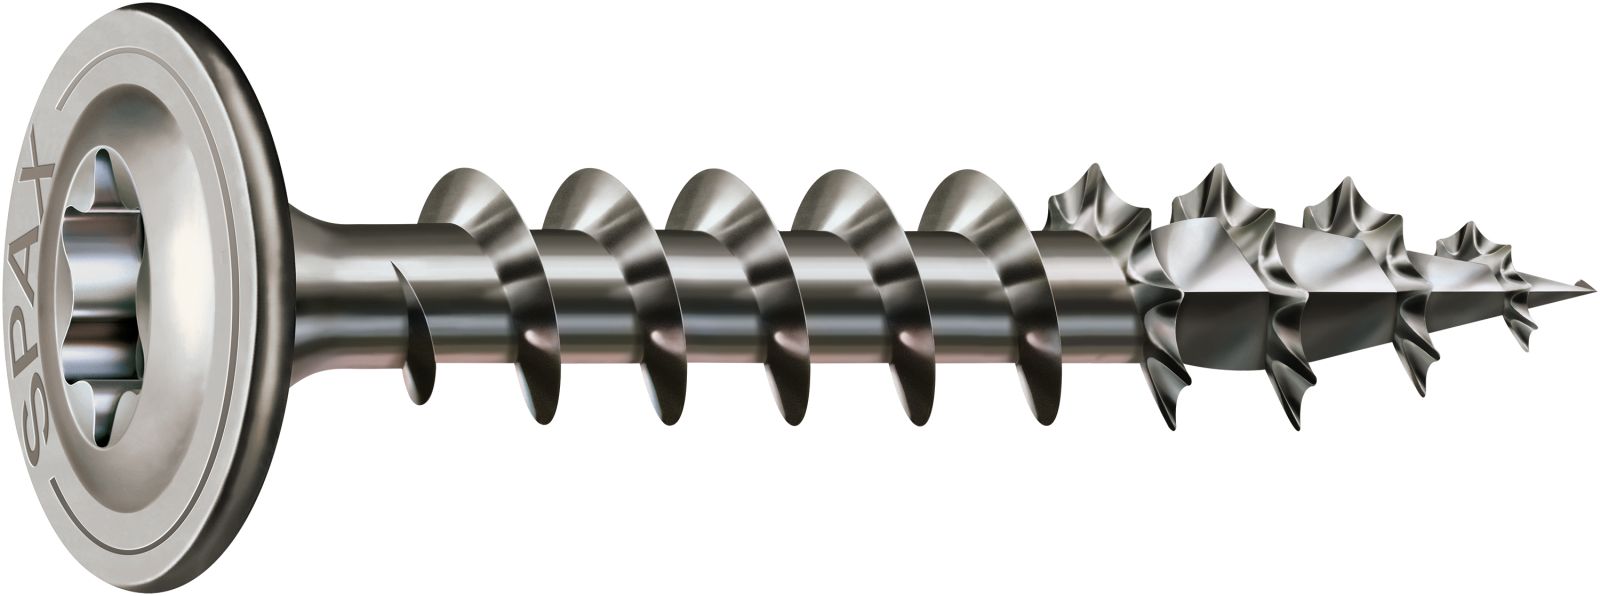
- Type 17 Auger Tip Screws: Designed for faster, easier insertion and to help prevent splitting.
Installation
Follow all manufacturer instructions for decking and cladding, including specifications for screw spacing, edge/end distances, and gapping. Predrilling is recommended for all composite deck boards:
- Predrill a 4.8 mm (3/16″) pilot hole through the decking material only, not the joist.
Step-by-Step Guide
- Fit Setting Tool: Use the application-specific driver bit marked “DECK”.
- Drive the Screw: Using the PVC/Composite Tool with a standard drill on high speed. Avoid using an impact driver with the setting tool.
- Auto-Stop™ Mechanism: The tool will make a “pop” sound when the screw is set to the correct depth. Do not hesitate or slow down while driving.
- Insert the Plug: Tap the plug into the hole with a smooth-faced hammer until it is flush with the board.

Hidden Fastening System for Deck Fascia and Cladding: Secure and Flexible Installation
Application
This hidden fastening system securely fastens deck fascia and cladding while allowing boards to expand and contract freely. Precision-cut plugs are made from actual fascia material. The installation is a straightforward three-step process using a predrilling tool and a setting tool (sold as a tool set), along with screws and plugs. All components must be used together as instructed to ensure proper function.
Features
- Fascia Plug Tool: Predrills an over-sized hole to allow the board to expand and contract freely, and provides a pre-set countersink that matches the diameter and depth of the screw and plug.
- Free-Spinning Stop Collar: Prevents damage to the board surface during predrilling.
- PVC/Composite Tool with Fascia Bit: Sets the screw to the proper depth and eliminates overdriving.
- Type 17 Auger Tip Screws: Designed for faster, easier insertion and to help prevent splitting.
- Kit Packaging: Includes screws and plugs (Fascia Plug Tool Set sold separately).
Installation
Follow all fascia manufacturer instructions, including specifications for screw spacing, edge/end distances, and gapping.
Step-by-Step Guide
- Fit Setting Tool: Use the application-specific driver bit marked “FSCA”.
- Predrill: Use the Fascia Plug Tool until the collar stops spinning.
- Drive the Screw: Using the PVC/Composite Tool with a standard drill on high speed. Avoid using an impact driver with the setting tool.
- Auto-Stop™ Mechanism: The tool will make a “pop” sound when the screw is set to the correct depth. Do not hesitate or slow down while driving.
- Insert the Plug: Tap the plug into the hole with a smooth-faced hammer until it is flush with the board.

This hidden fastening system offers a streamlined, professional finish for all your decking and cladding projects.